How I reverse engineered the exam app of my professor
Legal warning
Reverse Engineering software is often restricted and prohibited in the terms and conditions of proprietary software and under certain conditions it may even be illegal depending on the developers and distributors. You've been warned.
Also, yes, I've talked to my professor about this. He approves the idea of sharing this knowledge, so, special thanks to him for letting me talk about this.
Welcome my fellow hackers! I've been recently learning a lot about Reverse Engineering and I'd like to share how it all started, and maybe you'll learn something about reverse engineering Python-compiled programs (yes, you can do it using "pyinstaller" to pack it into an executable or "cython" to turn your Python program to C code to be able to compile it). In this post I'll cover a useful library for Python and two tools to unpack pyinstaller's binaries to be able to inspect the source code, so let get into it!
What's Pyinstaller?
PyInstaller is a Python library and application that bundles your Python application along with it's dependencies into a single executable. Using PyInstaller has several advantages the main one being the fact that you don't need a Python interpreter to run your application. This is why it's often used to create low-quality malware. I used this application to pack "marrow" (the C2 server I coded some time ago) and how the script "generate_intruder" generates an executable for the "intruder" agent of the C2 (if you're wondering, I plan on continuing it's developement, but I'd like to learn first how to create proper malware using C++ and WinAPI, and then, resume the development using a C++ coded agent).
While we cover this anecdote, you'll be discovering how PyInstaller packages everything into a single executable, and how I managed to bypass the security of my professor's program.
What's the purpose of the app?
The application is called "safe_exam" and it is used to control the screens of the user and force the webpage to cover all the screen, blocking it and preventing the user to change windows or tabs locking all other applications, forcing the navigator tab to cover all other apps. Furthermore, it prevents you from searching anything because it deletes the search bar from the window and only let you see the webpage where we do the exams.
Explaining the application's logic
To better represent this, imagine I have installed a navigator (in my case, "Librewolf"). When I open Librewolf, this is how it looks like:
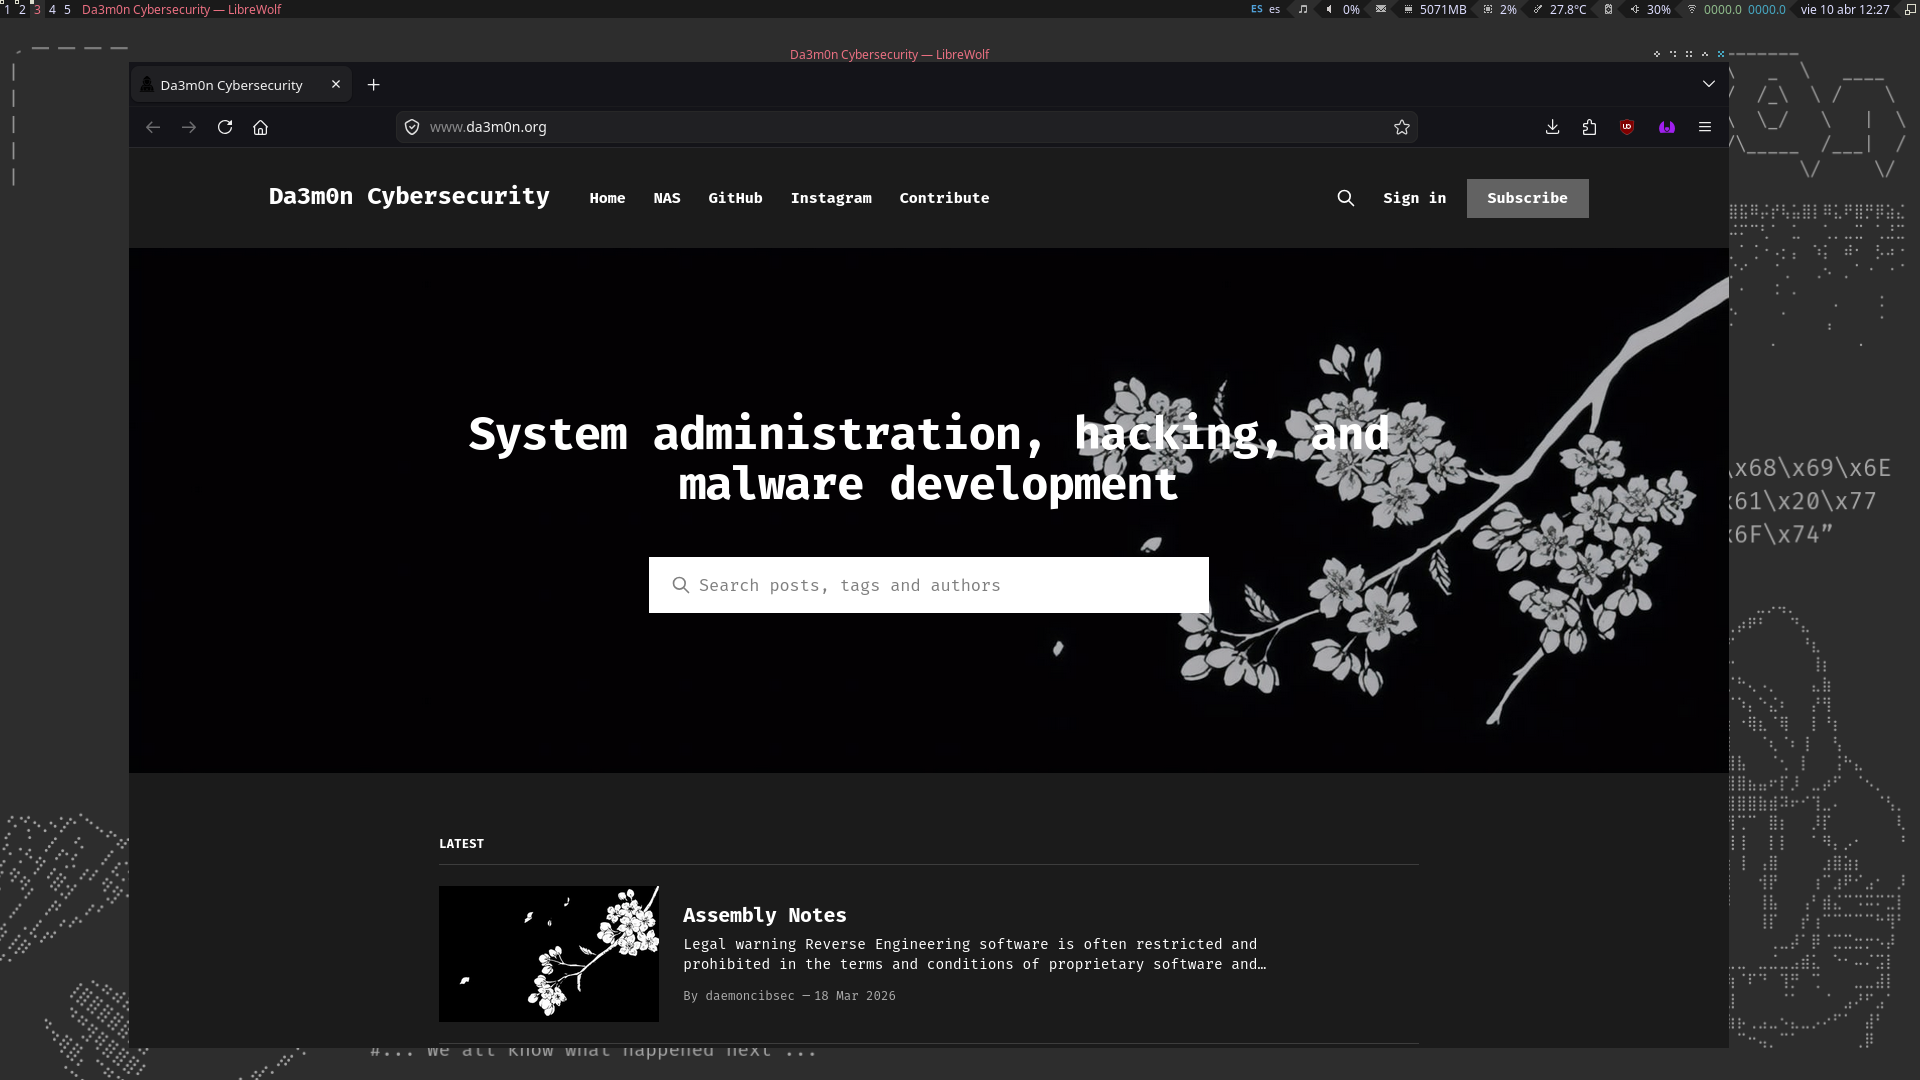
The the image in the background is the wallpaper of my Window Manager, on the top part, I have the widgets to take a fast look at the information I need to know about my PC, for example, the date, the MB of memory consumed, the CPU usage percentage, the volume, the battery charge, etc.
When I execute my professor's program, it looks like this:
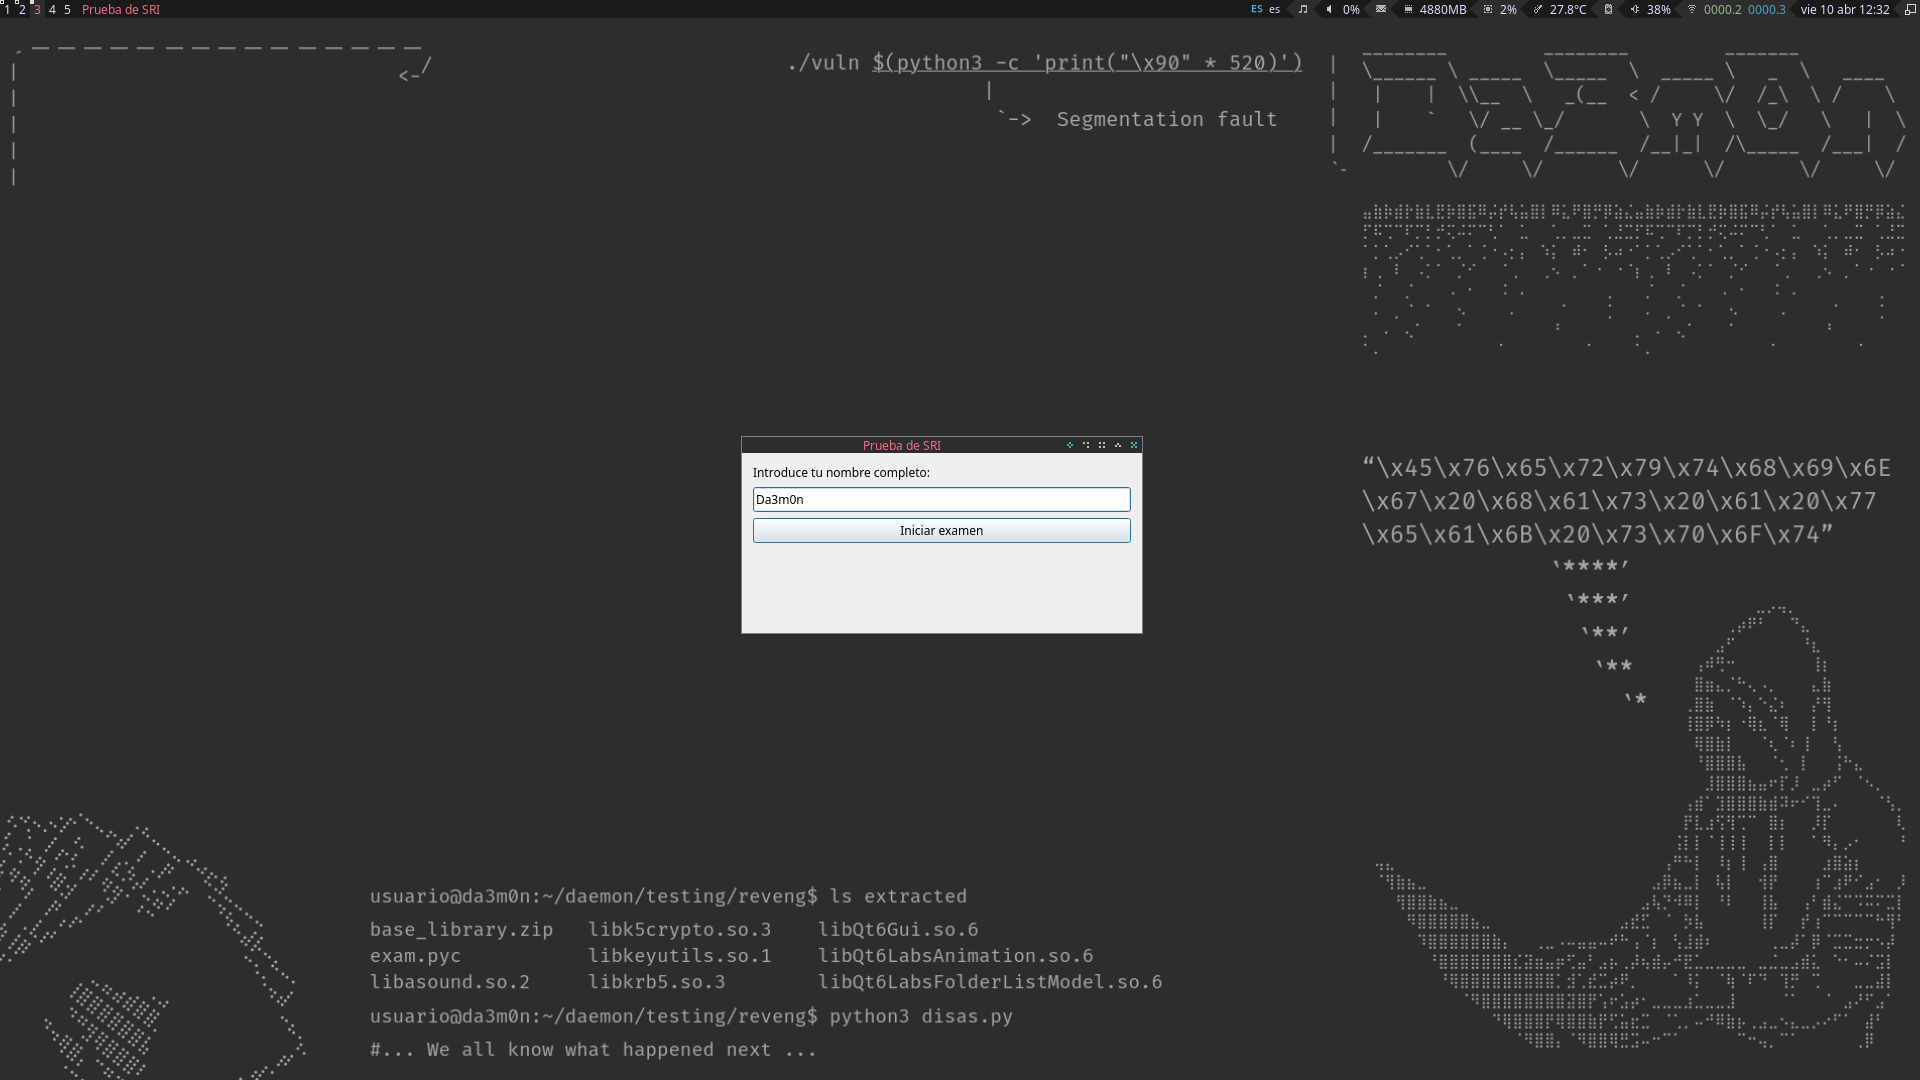
It asks you to input your name before beginning the exam. This is done because after analysing the application's execution, I realised the app generates logs the professor can recover to check what each person has done across the exam (for example, if someone started the exam, finished or cheated). The professor, who has access to all of the computers of the classroom, can connect to our computers using the SSH protocol or even download the logs directly using the "scp" command, which for those who don't know, is used to transfer files across the network using an encrypted communication.
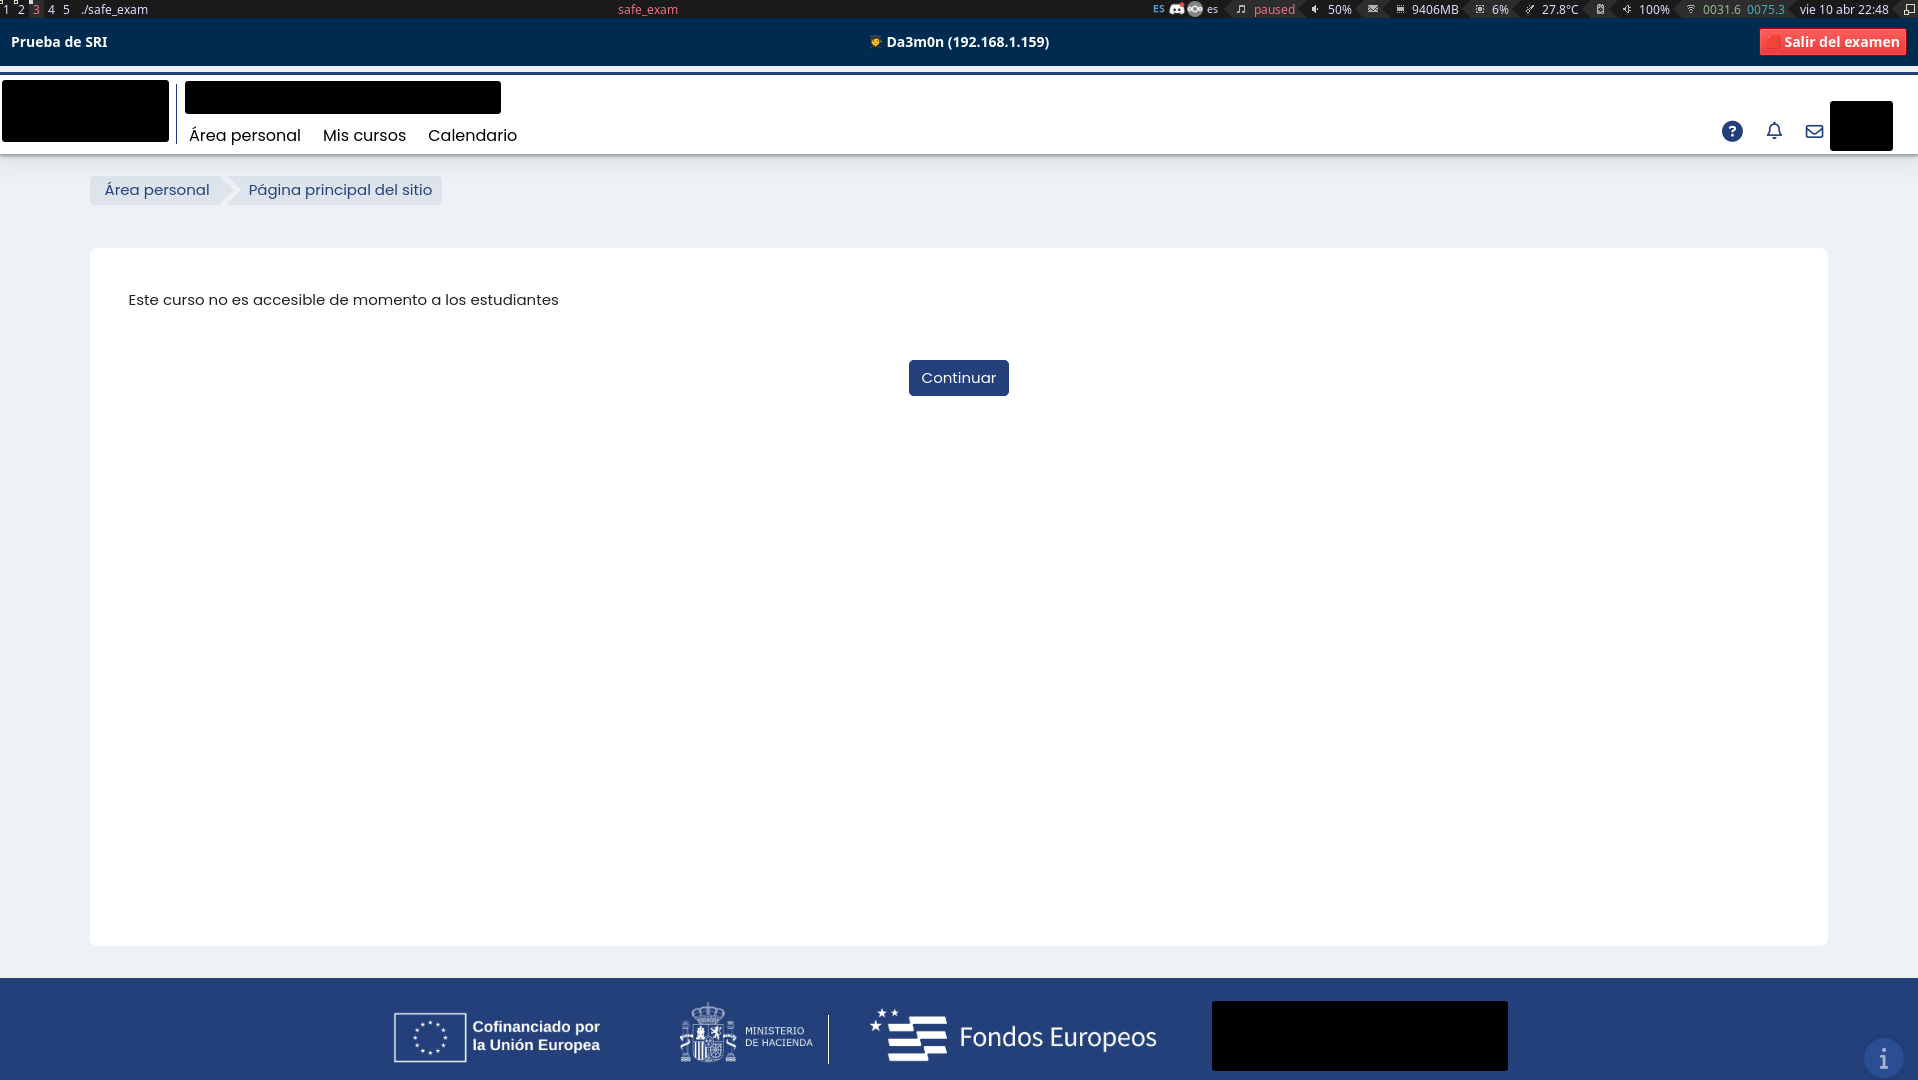
After pressing the "Iniciar examen" button (which translates to "Start Exam", it's in Spanish because I'm from Spain), I get sent to the exam webpage, which is then displayed in a window created by the application that autoscalates to your screen resolution. In this case, I can't access the exam because I've already done it (and I passed it), but it would show a series of questions I'd have to answer. This is how it looks like.
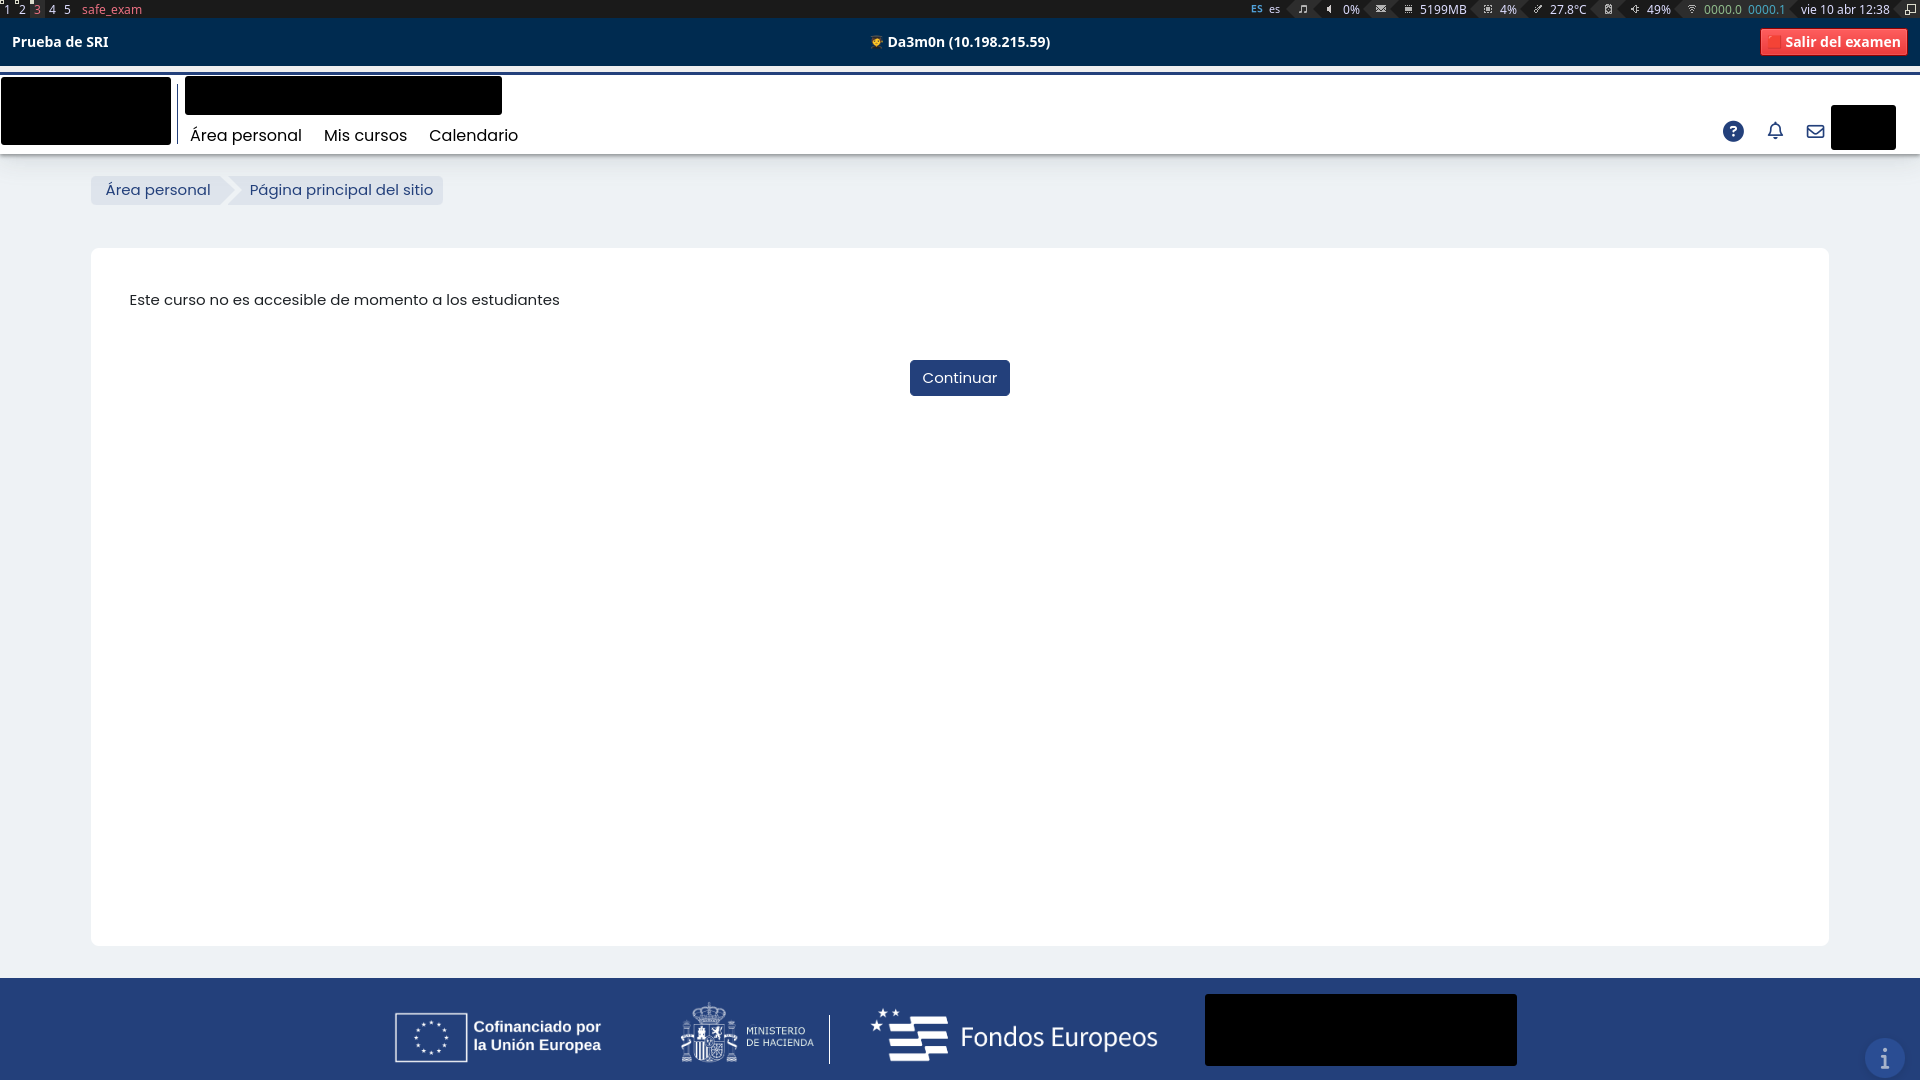
By now you might have thought that someone could do "alt + tab" to change his window and look up information on the internet. Well, no, because the app also blocks that key combination. You might be thinking, "minimize the window then", well, it doesn't have any button to minimize (of course, why would it?), and also if you exit the exam, you can't enter again because it counts as if you've already done it, and not only that, if you leave the exam before completing it (force-quitting the application), the answers are all sent as empty, which means instantly failing the exam.
Even if you manage to change the window, if the application losses "focus" (I'll explain this later), it blocks the exam access and tells you to contact the professor in order to unblock your screen, meaning, again, in an instant fail of the exam because that means you were trying to cheat or, at least, you acted suspiciously.
A workaround to this security measure
Before explaining this part, I first need you to understand the concept we've talked about before named "Focus".
Focus means, in the context of desktop applications, when you change your interaction to another window. To represent this, imagine you're writing in your text editor (for example, "Notepad") and then you select your navigator's window (for example, "Chrome") to search something on the internet. That means the Notepad is losing focus and Chrome is gaining focus. When you interact with a window, it gains focus, and when you interact with another, it loses focus. That's how the program knows if you managed to change the window.
Now, how's even possible to reverse engineer something like this, it literally blocks your screen so you can't type or see on anything that isn't an exam webpage? Thanks to the power of my incredible Window Manager called "Awesome" and the help of "workspaces". Think of it as different screens which you can navigate at your own desire and put certain applications in each one of them.
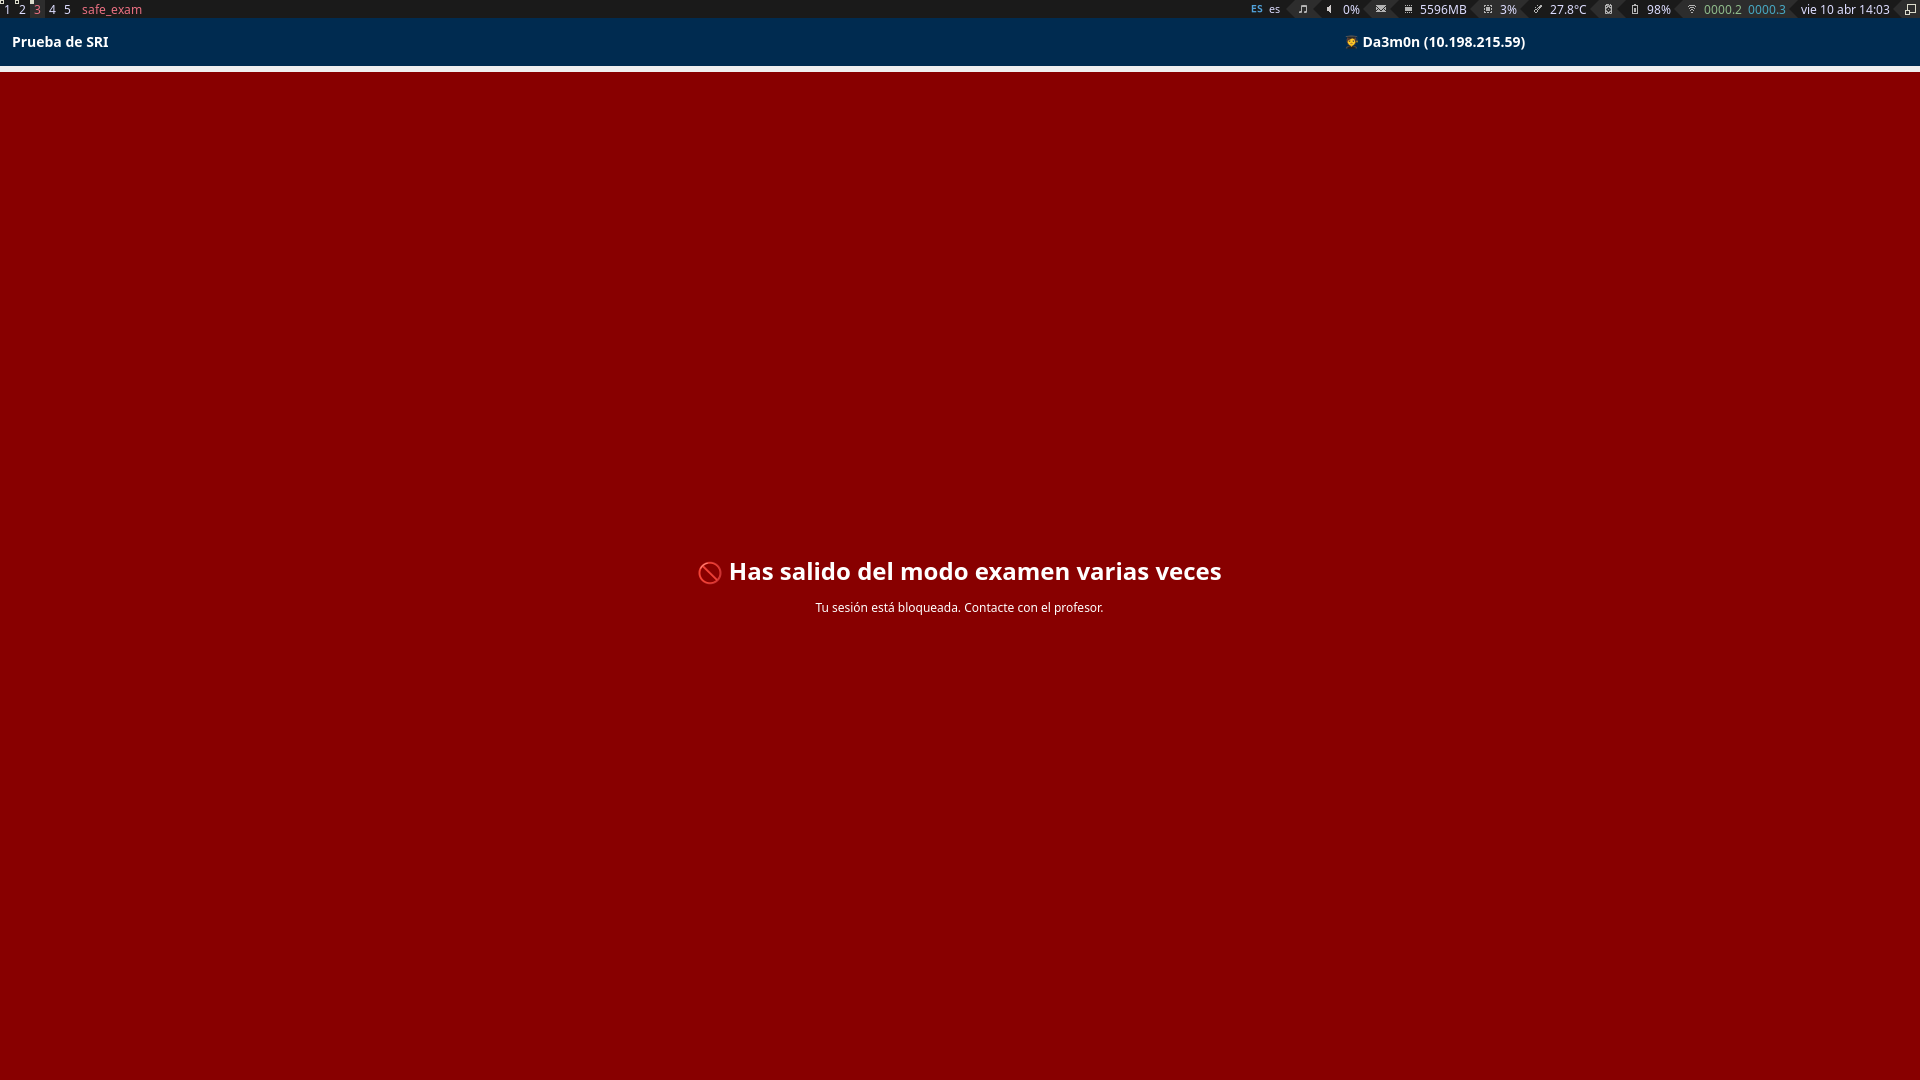
So if I open the application in the workspace "1" and then change to the workspace "2" pressing "Super" (Windows key) + "2", and come back to the workspace "1" pressing "Super" + "1". I can interact freely with my terminal in the workspace "2" because the exam app is running in workspace "1". However, changing a workspace means losing the focus on the exam application, which blocks the program, and prevents me from continuing the exam. Here's how it looks like when the screen got locked when I try to change workspaces to come backg to the application (though it says in spanish I left the "exam mode" many times, I just changed the focus once and it got blocked).
Now, here's where the interesting stuff happens.
The only countermeasure left, reverse engineering
Remember before when I said that, if the application blocks your access to the exam, you had to call the professor to unblock your screen? That means there must be a function inside the code that unblocks your session and let you resume the exam, therefore, letting you search whatever you want on the internet no matter the times you've blocked your exam. Remember also the logs I was talking before? The only thing you have to do is create a simple bash script of less then 100 lines to detect this kind of entries inside the log:
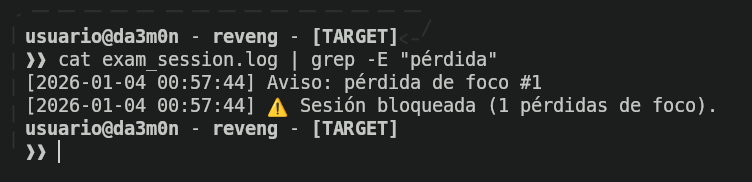
And delete them using a loop that checks every 0.1 seconds if that expression exists, and if it does, delete the lines of warnings and sessions blocked.
Starting reverse engineering
Firstly, I started checking which type of file I was dealing with. For that, I used the "file" command.
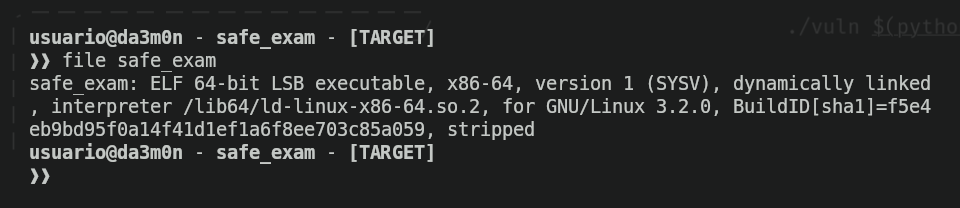
As we can see, it's an executable file, (nothing surprising seeing we executed the application before). It's in ELF file format. I knew the script was written in Python because the own repository our professor told us to download the binary from tells it.
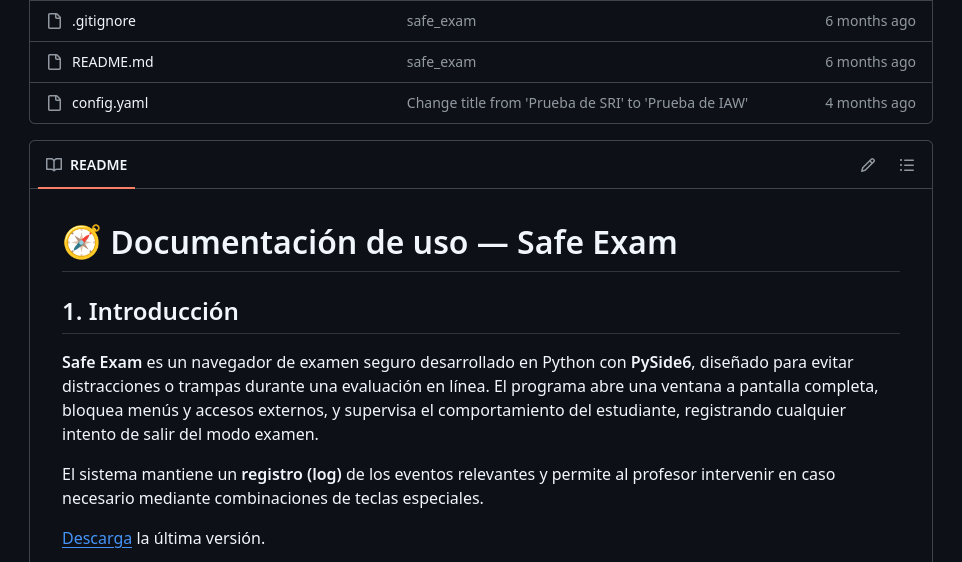
Now, knowing this, there are some python tools that let you rip the executable package to it's source code to analyse. The first tool I used to check whether I could find something or not is called "pyi-archive_viewer", which lets you see what's inside the packed executable. I used it like this:
pyi-archive_viewer -l ./safe_exam | lessAnd it gave me the following output.
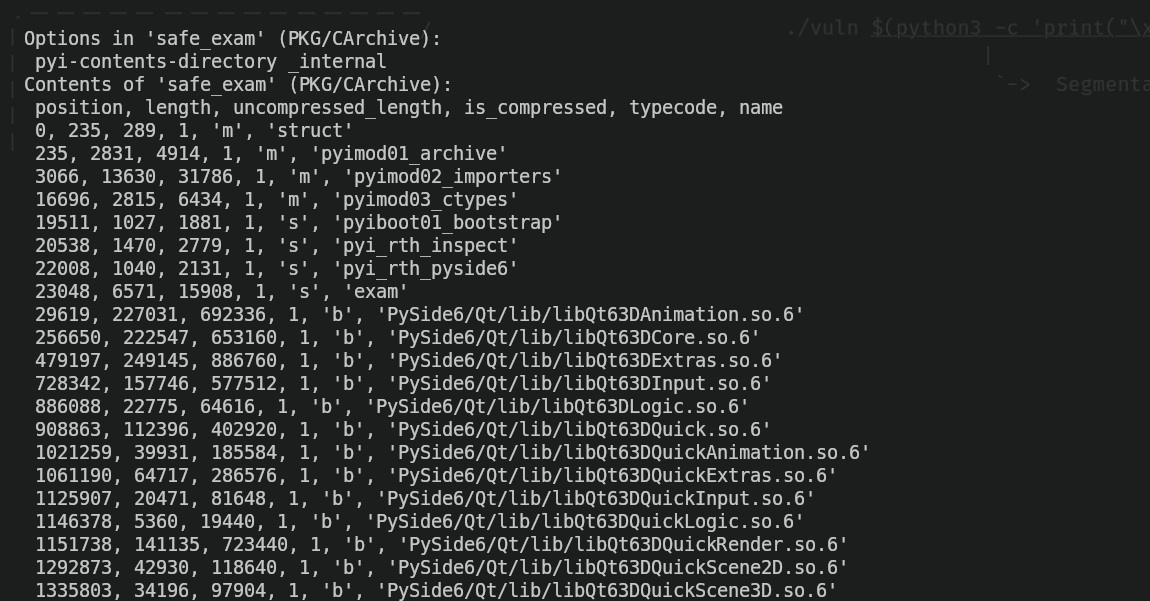
If you've analysed the image carefully, you may have already seen some interesting things. The first thing that caught my attention was this:

The 's' indicates it is a script, and having the name 'exam' which can indicate it is the main script. Indeed, I was right. Why do I say this? Because I used this other tool called pyinstxtractor-ng to extract the contexts of the binary and be able to check them.
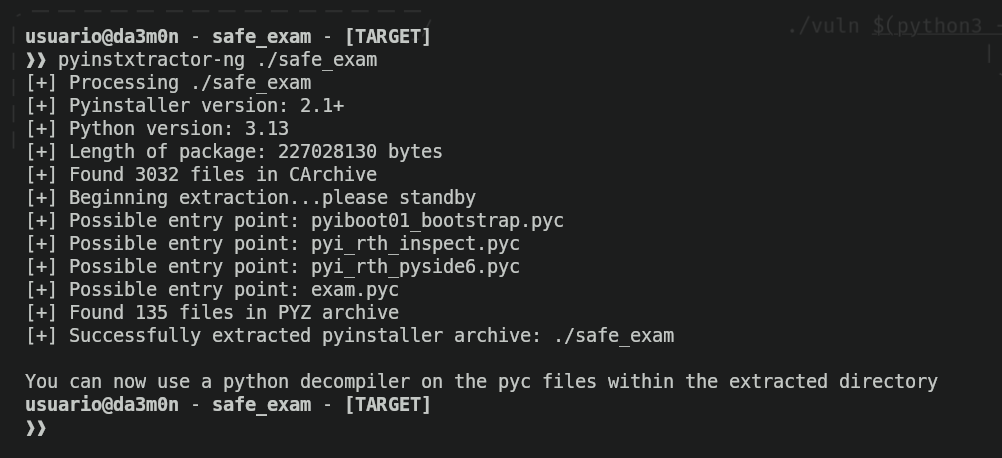
Now I only had to check "exam.pyc". However, because it was compiled, I had to use a decompiler to be able to read the code, because it looked like this.
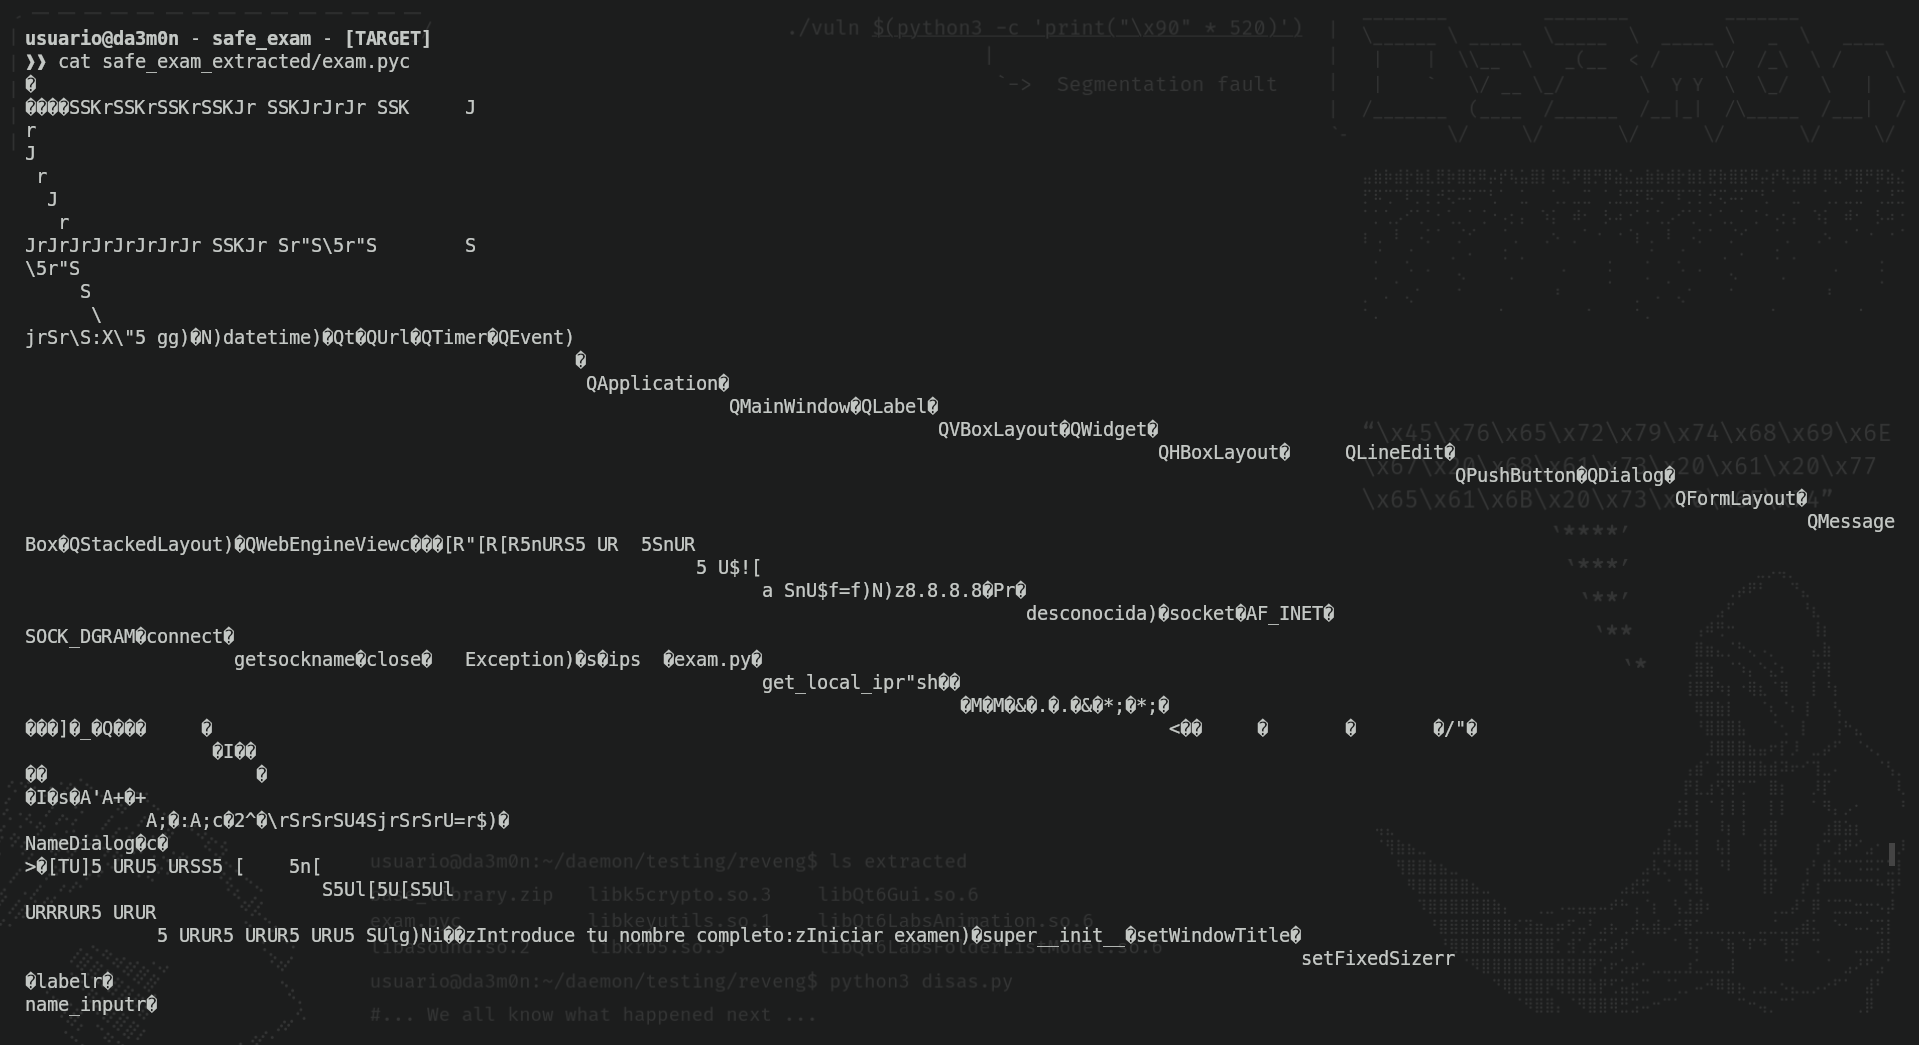
This, of course, is unreadable, however I could see some strings that indicated this was the script that was used to block/unblock the screen during the exam thanks to this phrase;
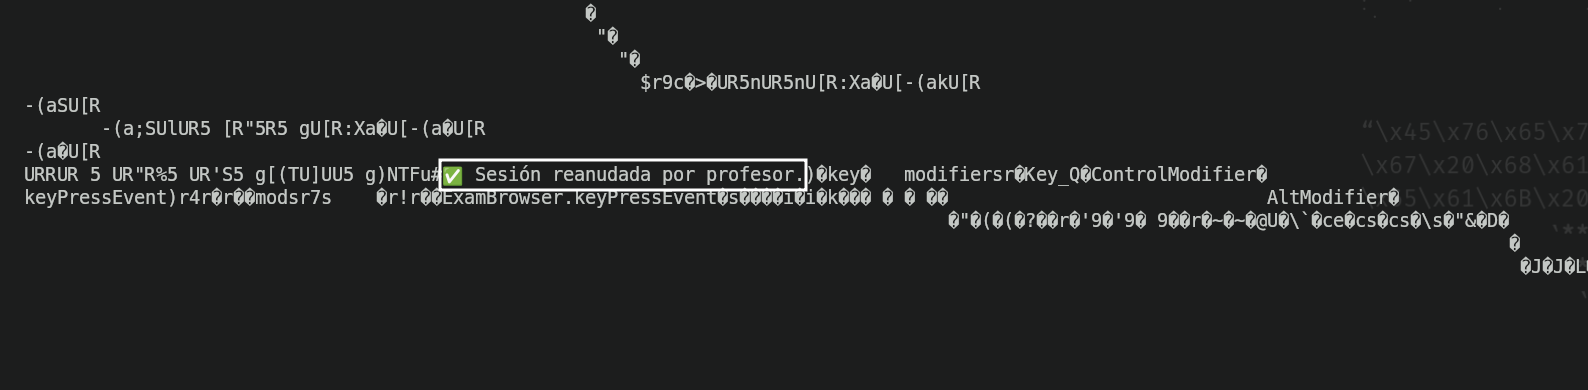
Reversing the application to pseudo-assembly code
Now, to be able to read the code, I must turn the compiled code back to assembly. This can be done using a simple script with the "marshal" library to turn the compiled code into pseudo-assembly code. I'll leave the code below so you see how easily it can be done.
#!/usr/bin/env python3

import argparse
import marshal
import dis

parser = argparse.ArgumentParser(
    prog='decompylex',
    description='Turn .pyc files into readable pseudo-assembly code',
    epilog='Thanks for supporting me!',
    formatter_class=argparse.RawTextHelpFormatter,
    )

parser.add_argument('file')
args = parser.parse_args()

# Load a .pyc file
with open(args.file, 'rb') as f:
    f.read(16)
    code_obj = marshal.load(f)

# Disassemble the code object
dis.dis(code_obj)
With this, all you'd have to do is create the file naming it as decompilex.py or however you want to name it, and then execute it.
./decompilex.py safe_exam_extracted/exam.pyc This allowed me to review the pseudo-assembly code. In order for you to see how it looks like, this is an example screenshot of the disassembled exam.pyc file:
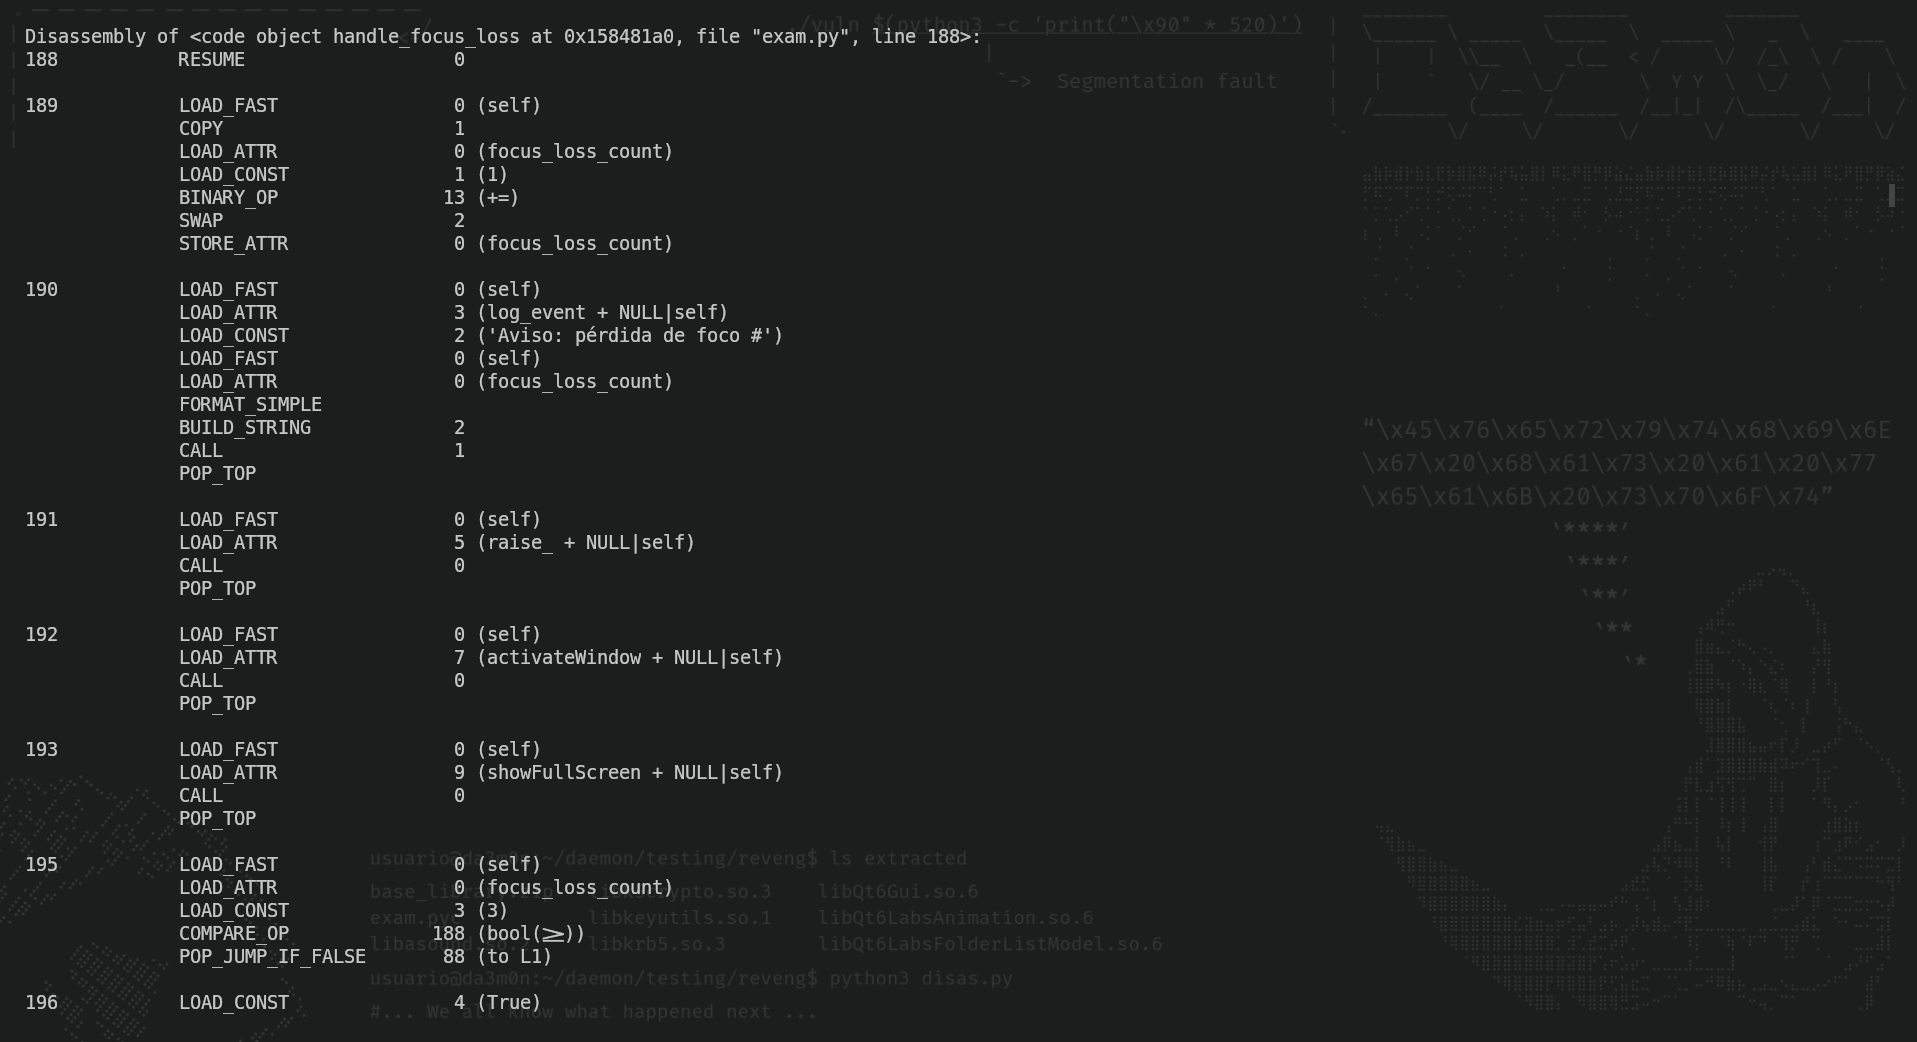
Now all I have to do is search for the previous string I looked at before, and applying programming logic, if there's a message that literally says "Exam session unblocked by the professor", the thing that unlocks the session must be above the message.

And as I told before, above that line there is a key combination.
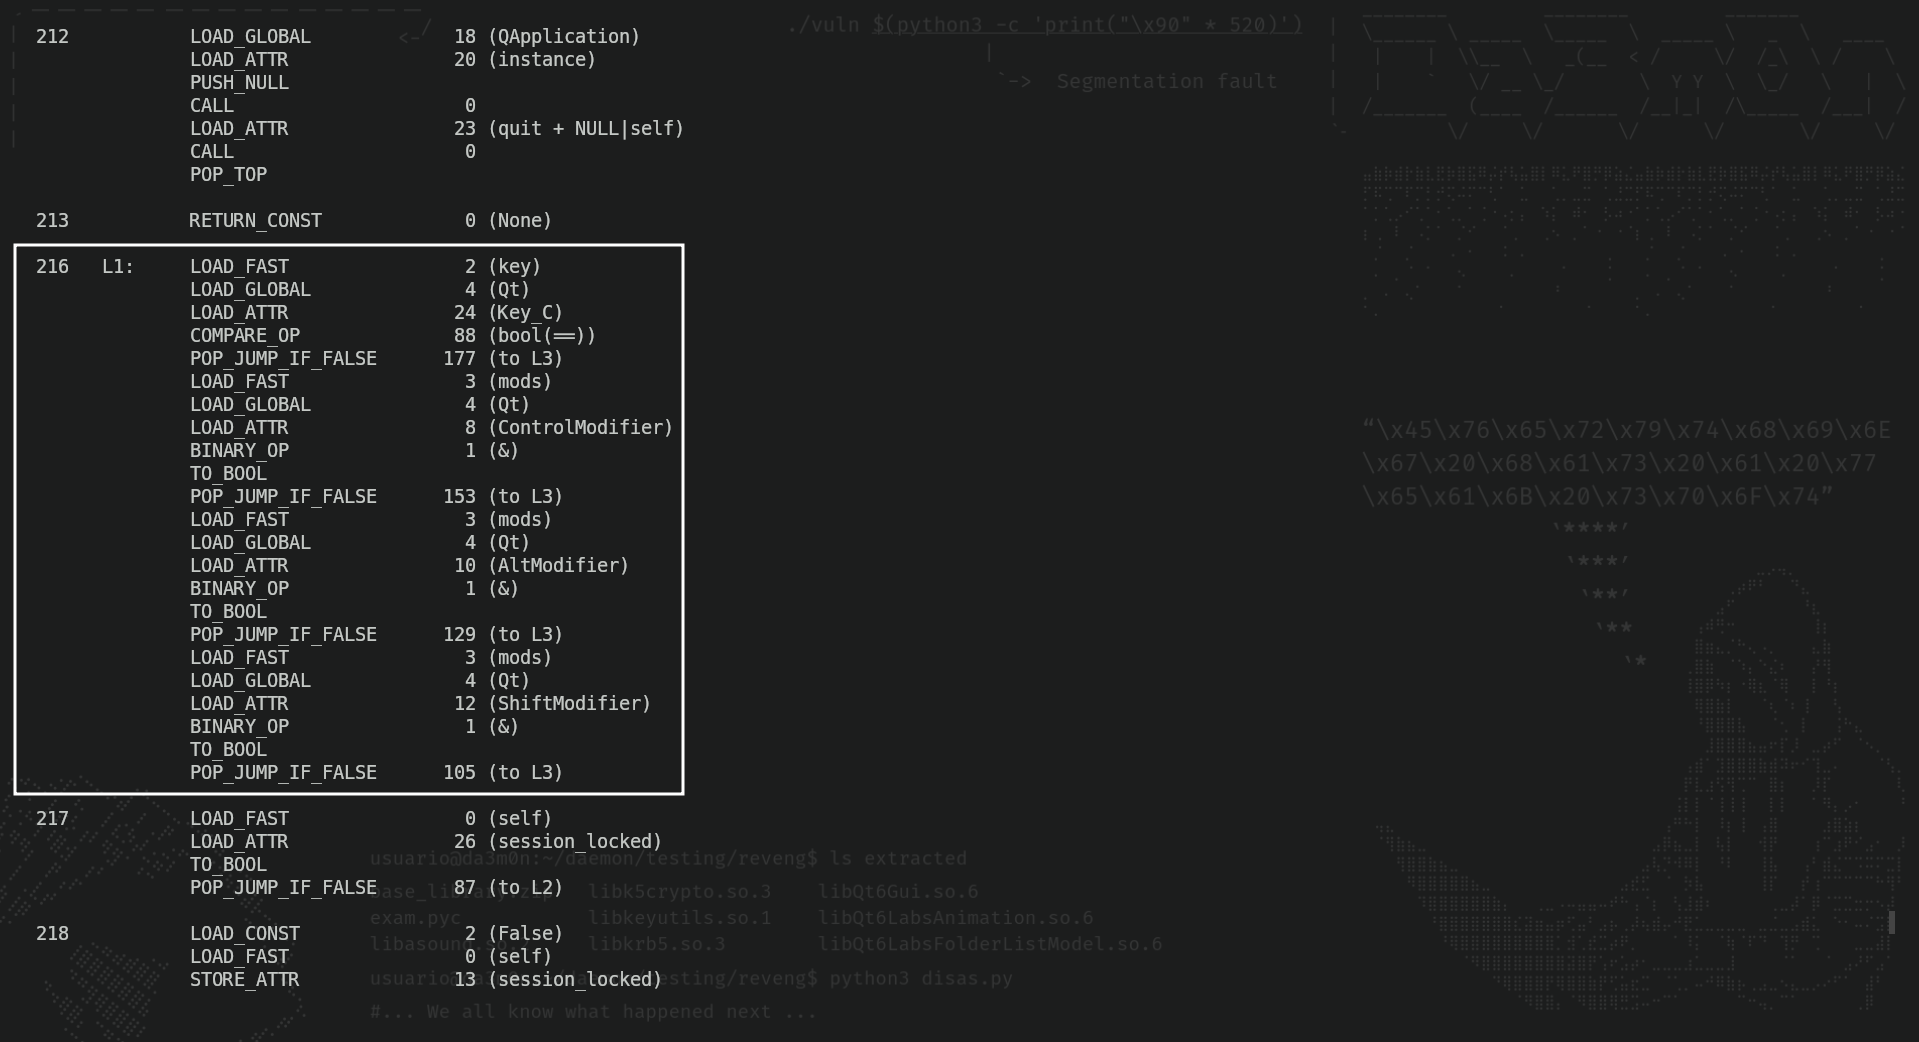
Pressing these key combinations allows the student to continue the exam, therefore having the possibility to cheat and delete logs by its own.
If you have any questions, you can leave them below. Thanks for reading, and have fun hacking!